SetupOPENVPN
During a slow morning I decided to Setup an Openvpn Server following this tutorial. This is going to be a long article but it is very rich and will help me understand a lot about networking, server setup, pki, and security.
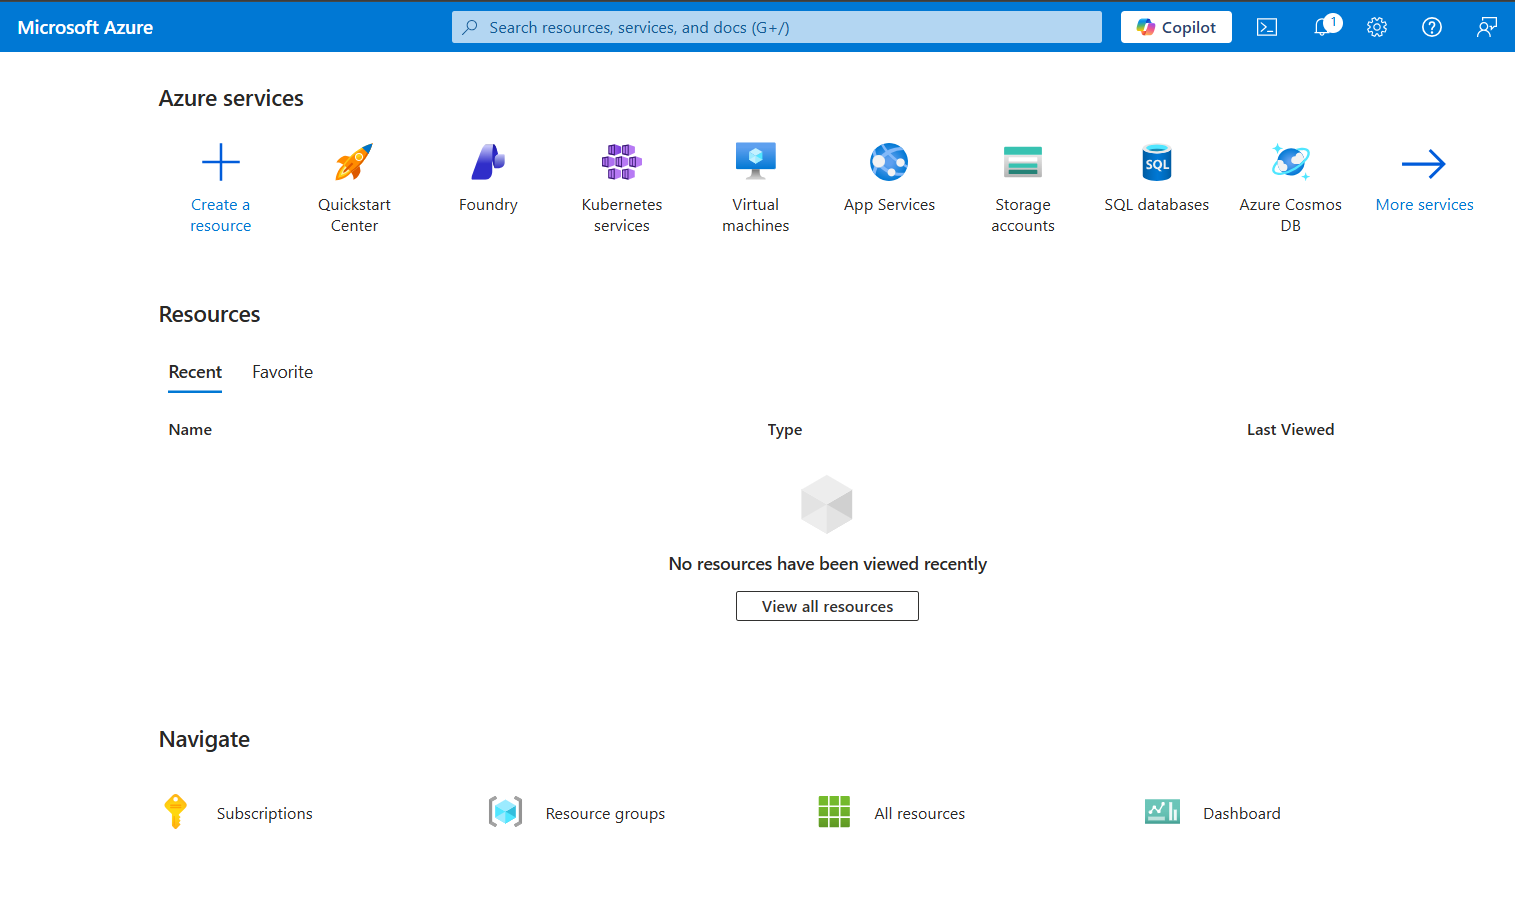
I am going to be using Azure today. Let’s boot up the first vm, this will be the Openvpn server you won’t need something powerful 2gigs of ram is very fine.
Basic server Hygiene
I chose ubuntu server 24.04.4 LTS, the firsstep you need to do after logging in is to disable root ssh login and only login with a non root user. This is done automatically in Azure if you chose the ssh auth during setup, you just have to set PasswordAuthentication to no in the /etc/ssh/sshd_config file then restart ssh.
Now go ahead and update system then install necessary packages.
sudo apt upgrade && sudo apt update
sudo apt install openvpn easy-rsa
Configure easyrsa
after installing easy rsa make a directory then create a symlink from the /usr/share/easy-rsa/* to that directory, you can just copy then contents there instead of the symlink then restrict the access to that directory using the chomd command.
Creating a pki infra
we need to set up easy-rsa to use the elleptic curve Cryptography this will use a shorter keys thus better performance.
set_var EASYRSA_ALGO "ec"
set_var EASYRSA_DIGEST "sha512"
then initiate easy-rsa
./easyrsa init-pki
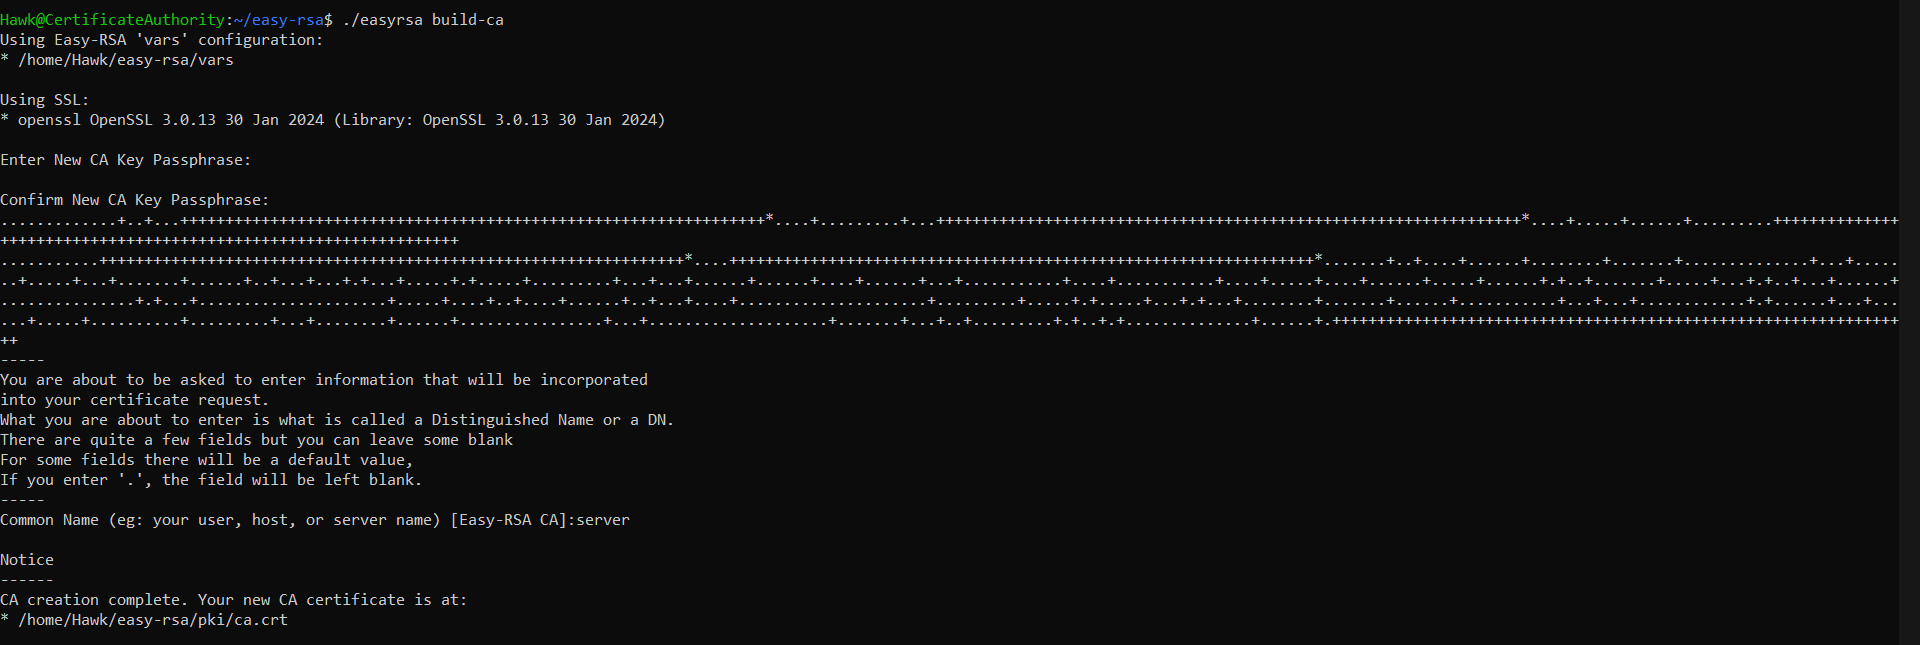
Setting up the CA
boot up another vm, this will be used as the CA which is going to verify each client request.
 .
.
Generate a CSR request and a private key
On your Openvpn server, navigate to the easy-rsa directory then generate a csr with this command and then copy the key to then openvpn config directory.
./easyrsa gen-req server nopass
sudo cp /home/USERNAME/easy-rsa/pki/private/server.key /etc/openvpn/server/
the “server” is our CN (common name).
Sign The server CSR request with the CA
transmit the files from the openvpn server to the CA server
scp /home/USERNAME/easy-rsa/pki/reqs USERNAME@CASERVERIP:/tmp
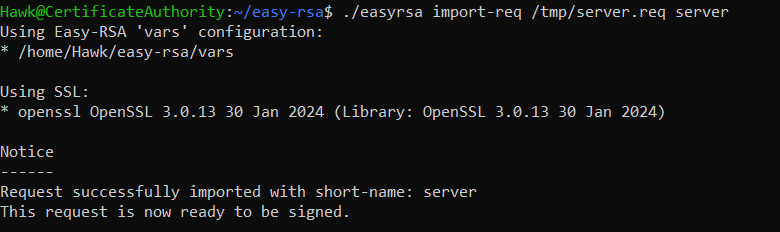
cd ~/easy-rsa
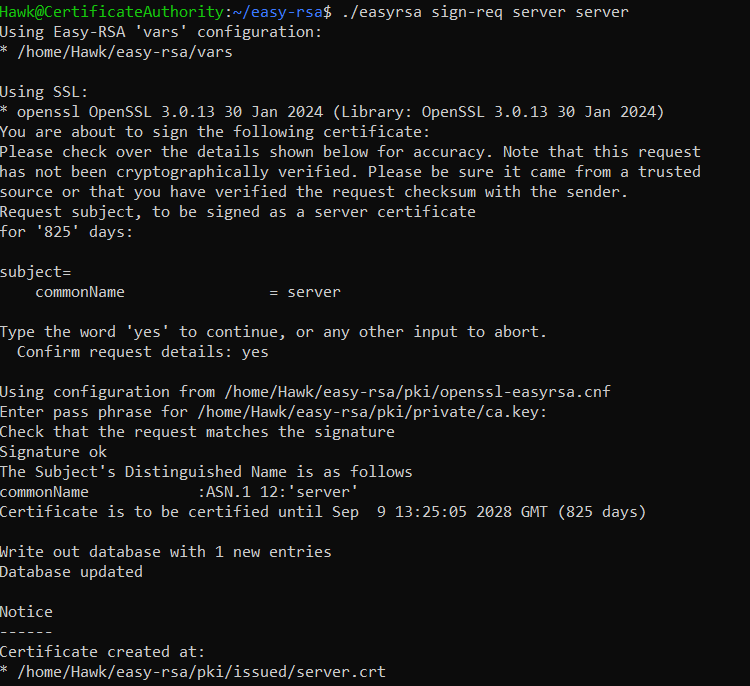
./easyrsa import-req /tmp/server.req server
./easyrsa sign-req server server
after signing the CSR transfer back the certificates to Openvpn server, then transfer them to /etc/openvpn/server
scp pki/issued/server.crt USERNAME@VPNSERVERIP:/tmp
scp pki/ca.crt USERNAME@VPNSERVERIP:/tmp
create a shared secret key that’ll be used by both the client and the server if a packet is signed with this key it’ll be trusted, if it is not it can be discarded. generate it in the easy-rsa directory then transfer it to the /etc/openvpn/server
openvpn --genkey --secret ta.key
sudo cp ta.key /etc/openvpn/server
Generating Client Certificates
Create a directory that’ll hold client configs, keys etc … Restrict access for that directory for better security
mkdir -p ~/client-configs/keys
chmod -R 700 ~/client-configs
Go back to the easy-rsa directory and generate a CSR just like we did before, then transfer the key to the keys folder and the request to the CA server
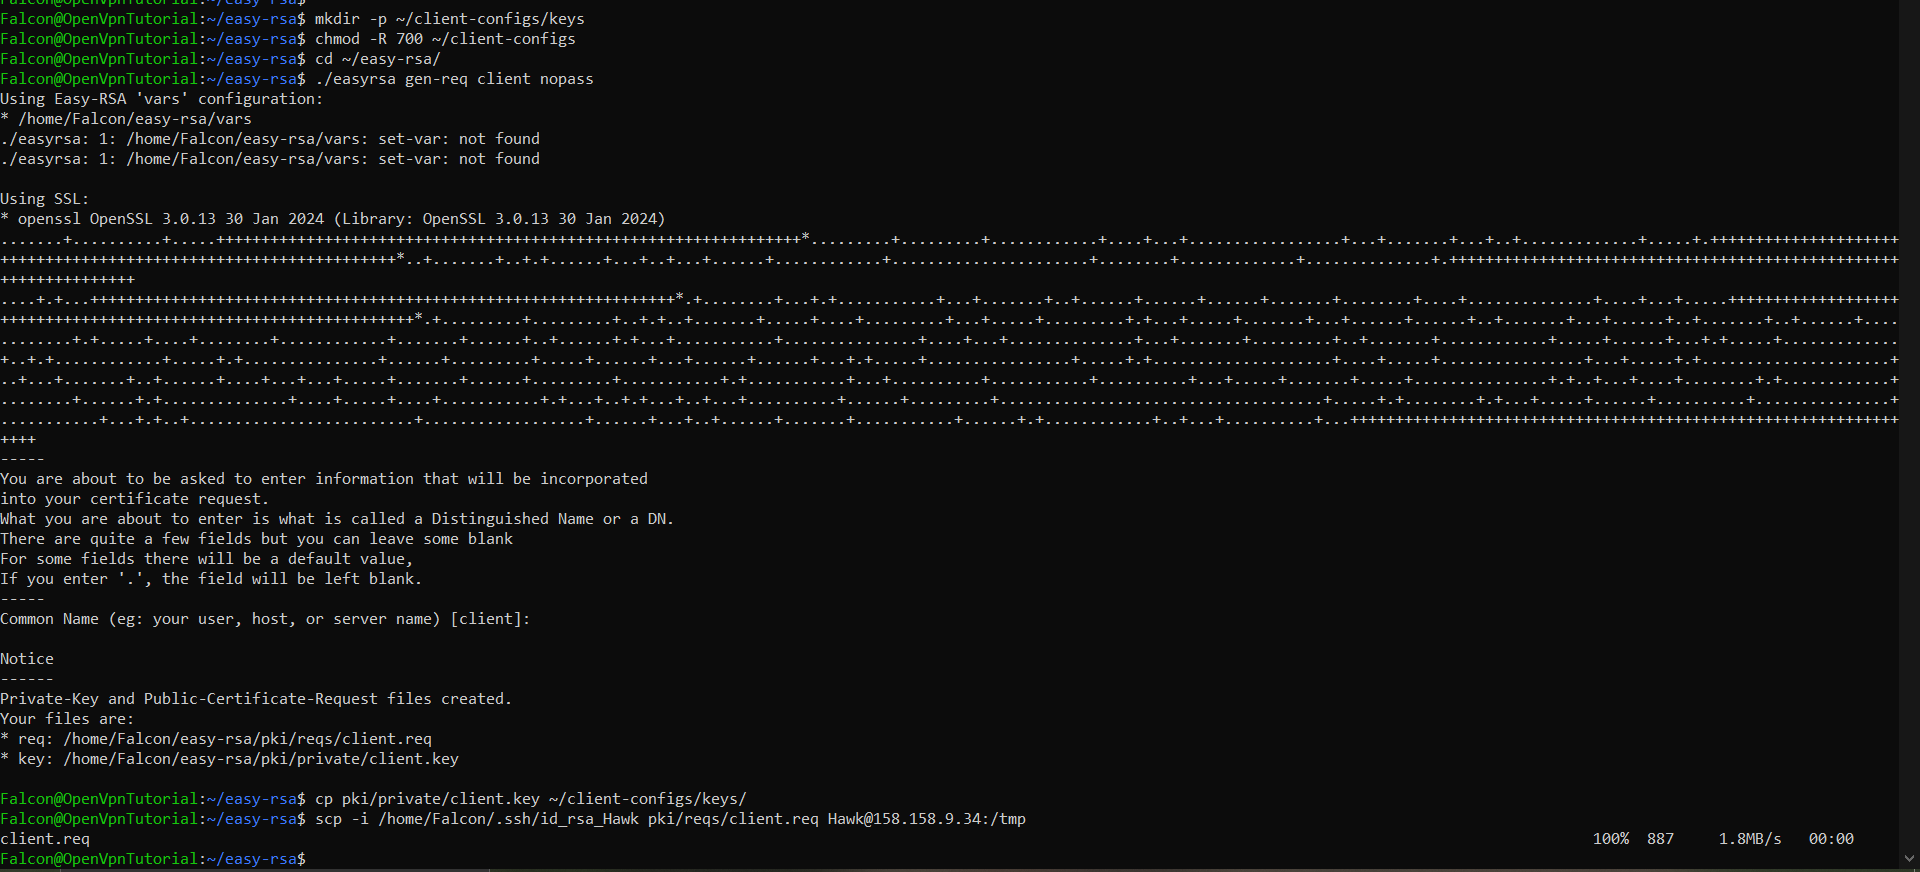
cp pki/private/client1.key ~/client-configs/keys/
scp pki/reqs/client1.req USERNAME@CASERVERIP:/tmp
Import the request and sign it
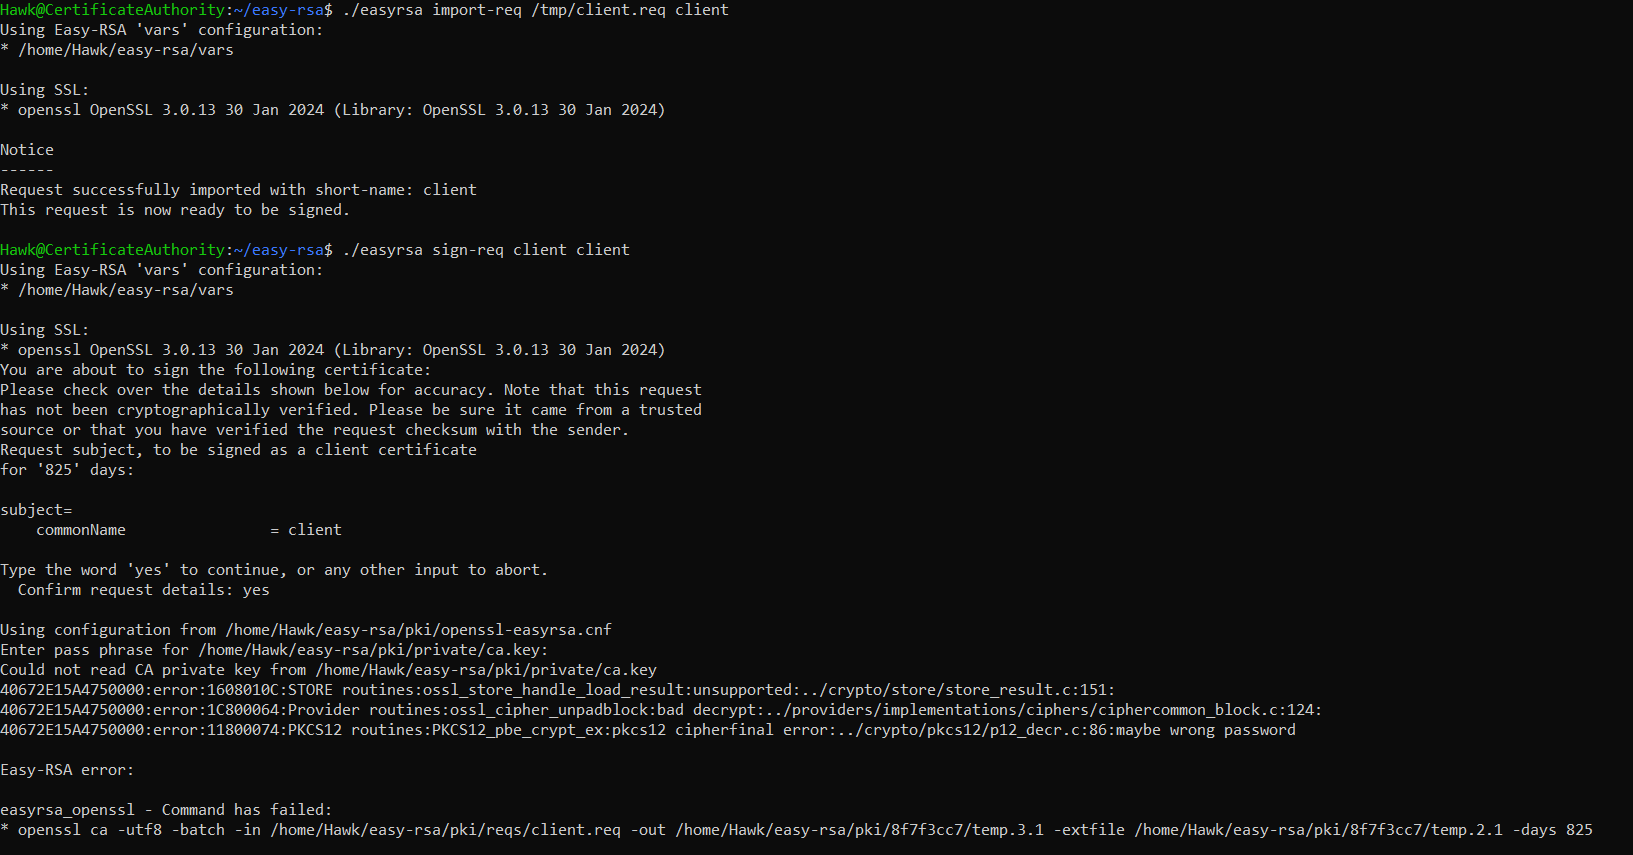 transfer back the signed certificate to the vpn server and put it in the keys directory, then copy the CA certificate and the shared key to the client-configs/keys/ .
Configure the Openvpn
copy the sample config to your Openvpn directory
sudo cp /usr/share/doc/openvpn/examples/sample-config-files/server.conf.gz /etc/openvpn/server/
sudo gunzip /etc/openvpn/server/server.conf.gz
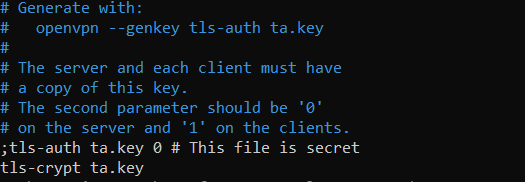
edit the /etc/openvpn/server/server.conf and add these basic configs
;tls-auth ta.key 0 # This file is secret
tls-crypt ta.key

;cipher AES-256-CBC
cipher AES-256-GCM

auth SHA256

;dh dh2048.pem
dh none

user nobody
group nogroup
Edit the Port Forwarding config
sudo nano /etc/sysctl.conf
net.ipv4.ip_forward = 1
then write this command sudo sysctl -p if the output is 1 . then you’re ok . this is very important any misconfiguration will cause tunneling issues later.
Firewall Configuration
get the name of your interface, now let’s edit the /etc/ufw/before.rules file. By adding these commands, keep in mind that eth0 is interface name yours may be different.
# START OPENVPN RULES
# NAT table rules
*nat
:POSTROUTING ACCEPT [0:0]
# Allow traffic from OpenVPN client to eth0 (change to the interface you discovered!)
-A POSTROUTING -s 10.8.0.0/8 -o eth0 -j MASQUERADE
COMMIT
# END OPENVPN RULES
Edit the /etc/default/ufw file by setting DEFAULT_FORWARD_POLICY to ACCEPT.
allow the openvpn port and openssh service. I’ve kept the default port
sudo ufw allow 1194/udp
sudo ufw allow OpenSSH

sudo ufw disable
sudo ufw enable
Starting the Server
Go Ahead and start the server

Creating the Client Configurations
We will create a files directory inside the client configs directory where we will make a base configuration and an automating script that’ll make it easy in case of creating multiple users.
cp /usr/share/doc/openvpn/examples/sample-config-files/client.conf ~/client-configs/base.conf
the create the base config file which will serve as a config blueprint ~/client-configs/base.conf
. . .
# The hostname/IP and port of the server.
# You can have multiple remote entries
# to load balance between the servers.
remote your_server_ip 1194
. . .
proto udp
# Downgrade privileges after initialization (non-Windows only)
user nobody
group nogroup
# SSL/TLS parms.
# See the server config file for more
# description. It's best to use
# a separate .crt/.key file pair
# for each client. A single ca
# file can be used for all clients.
;ca ca.crt
;cert client.crt
;key client.key
# If a tls-auth key is used on the server
# then every client must also have the key.
;tls-auth ta.key 1
cipher AES-256-GCM
auth SHA256
key-direction 1
; script-security 2
; up /etc/openvpn/update-resolv-conf
; down /etc/openvpn/update-resolv-conf
; script-security 2
; up /etc/openvpn/update-systemd-resolved
; down /etc/openvpn/update-systemd-resolved
; down-pre
; dhcp-option DOMAIN-ROUTE .
Now for the automation script ~/client-configs/make_config.sh
#!/bin/bash

# First argument: Client identifier

KEY_DIR=~/client-configs/keys
OUTPUT_DIR=~/client-configs/files
BASE_CONFIG=~/client-configs/base.conf

cat ${BASE_CONFIG} \
    <(echo -e '<ca>') \
    ${KEY_DIR}/ca.crt \
    <(echo -e '</ca>\n<cert>') \
    ${KEY_DIR}/${1}.crt \
    <(echo -e '</cert>\n<key>') \
    ${KEY_DIR}/${1}.key \
    <(echo -e '</key>\n<tls-crypt>') \
    ${KEY_DIR}/ta.key \
    <(echo -e '</tls-crypt>') \
    > ${OUTPUT_DIR}/${1}.ovpn
restrict the rights of the file for better security.
Generate the .ovpn config file
cd ~/client-configs
./make_config.sh client1
transfer back the .ovpn file to the client and import it and thaaaaat’s it.
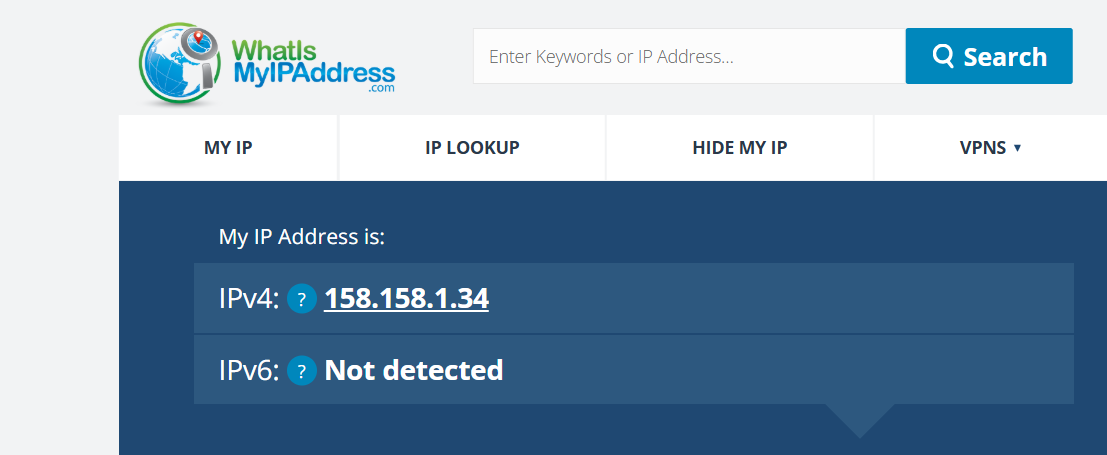
Testing
Before
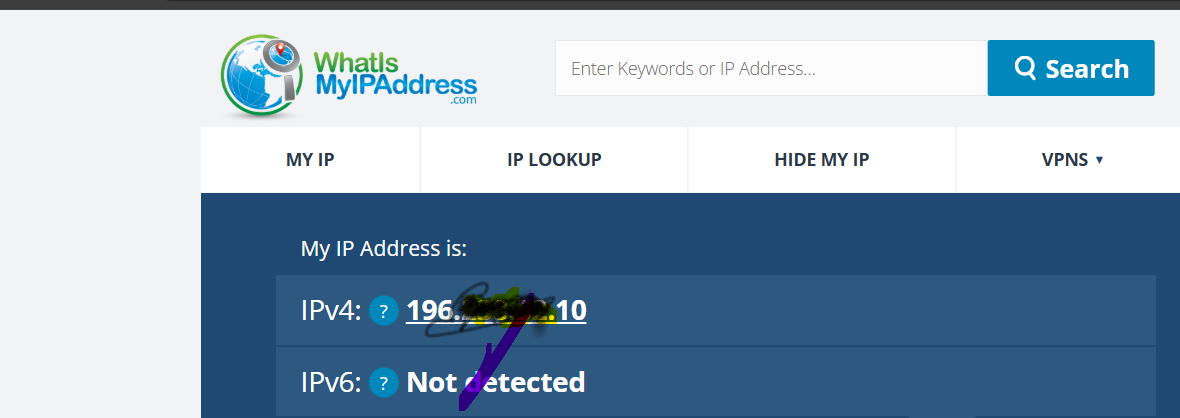 After
After